很牛X的开源管理系统,可以开通管理DNS、邮件系统、FTP、WEB、Mail、OpenVZ、MySQL、Shell。早些年我自己开发的系统就借鉴了ispconfig的一些思路。
此系统可以安装为主控+受控的集群模式,本文只讲单机版怎么做。因为DNS、Mail、OpenVZ和Shell我用不上,所以本文不安装这些。
本文基于Vultr的虚拟机,系统为新装的Debian 8 64位。其中有些步骤在其他服务商那里可能略有差别,我测试的Google虚拟机就有点问题,后面会提及。Debian 9的做法与本文略有差异,以后会写。
1,设置hosts和hostname(必须)
修改/etc/hosts和/etc/hostname,好了以后重启服务器。
2,更新系统(强烈建议)
直接复制执行即可:
echo "deb http://ftp.us.debian.org/debian/ jessie main contrib non-free" >/etc/apt/sources.list
echo "deb-src http://ftp.us.debian.org/debian/ jessie main contrib non-free" >>/etc/apt/sources.list
echo "deb http://security.debian.org/ jessie/updates main contrib non-free" >>/etc/apt/sources.list
echo "deb-src http://security.debian.org/ jessie/updates main contrib non-free" >>/etc/apt/sources.list
echo "deb http://ftp.debian.org/debian jessie-backports main" >>/etc/apt/sources.list
apt-get update

apt-get -y upgrade
3,更改系统的默认shell,注意必须选no(必须)
dpkg-reconfigure dash
4,安装必须的软件包,我全部写在一起了:(必须)
apt-get install -y update-inetd ifstat htop sysv-rc-conf nano dialog p7zip-full p7zip unrar p7zip-rar unzip rsync nginx php5-cgi php-apc php5-fpm php-pear php5-gd php5-imap php5-mcrypt php5-xmlrpc php5-xsl php5-mysql php5-curl php5-common php5-dev php5-imagick php5-memcache php5-pspell php5-recode php5-sqlite php5-tidy libnet-ssleay-perl libauthen-pam-perl libio-pty-perl php-db mysql-server-5.5 mysql-client-5.5 php5-mysql php5-curl php5-gd php5-intl php-pear php5-imagick php5-imap php5-mcrypt php5-memcache php5-memcached php5-pspell php5-recode php5-sqlite php5-tidy php5-xmlrpc php5-xsl memcached fail2ban ufw python-certbot -t jessie-backports pure-ftpd-common pure-ftpd-mysql quota quotatool
python-certbot是自动为客户网站申请SSL证书的。
memcached不是必须的,可以不装。
fail2ban和ufw是配合起来自动阻断密码嗅探的,就是下面第10步。
update-inetd ifstat htop sysv-rc-conf nano dialog p7zip-full p7zip unrar p7zip-rar unzip rsync 这些是我常用工具,非必须。
这里面有很多重复的,这不会有什么问题,因为我是将自用的东西与这篇笔记合并在一起的,所以跟php相关的大多是重复,Debian和Ubuntu这样做不会有任何问题的。
5,php设置一下:(必须)
echo "cgi.fix_pathinfo=0" >> /etc/php5/fpm/php.ini
/etc/init.d/php5-fpm restart
6,设置mysql监听地址:(可选)
nano /etc/mysql/my.cnf
注释掉 bind-address = 127.0.0.1 这一行
然后重启mysql
/etc/init.d/mysql restart
设置这个是为了让客户可以远程连接mysql的,如果你认为这有安全隐患或者会产生太多流量,可以跳过这一步。
7,安装phpmyadmin(非必须)
apt-get install phpmyadmin
注意,这里我将phpmyadmin单独列出,因为有些机器装这个玩意的时候会自动把apache2装上(google就是),这个事有些不太合理,而我确实没看出这么做的原因在哪个地方,所以单独列出来。你可以选择不装这玩意,因为实际上这玩意就是个压缩包,可以自己下载了放在服务器就可以,ispconfig本身是带有这玩意的配置模板的。
如果安装,注意不要选择服务器,直接ok
然后创建密码,不要输入,也是直接ok
8,设置ftp(必须)
nano /etc/default/pure-ftpd-common
下面两个设置:
STANDALONE_OR_INETD=standalone
VIRTUALCHROOT=true
重启pureftpd:
service pure-ftpd-mysql restart
9:设置配额(必须)
nano /etc/fstab
在倒数第三个字段加上 [,usrjquota=quota.user,grpjquota=quota.group,jqfmt=vfsv0] 括号内的 ,像下面这样:
# /etc/fstab: static file system information.
#
# Use 'blkid' to print the universally unique identifier for a
# device; this may be used with UUID= as a more robust way to name devices
# that works even if disks are added and removed. See fstab(5).
#
# <file system> <mount point>   <type>  <options>       <dump>  <pass>
# / was on /dev/vda1 during installation
UUID=8ba960cc-b7b6-44e9-b6c7-6f05edd472b8 /               ext4    errors=remount-ro,usrjquota=quota.user,grpjquota=quota.group,jqfmt=vfsv0 0       1
/dev/sr0        /media/cdrom0   udf,iso9660 user,noauto     0       0
启动配额:
mount -o remount /
quotacheck -avugm
quotaon -avug
10:防火墙(可选)
echo "[pureftpd]" > /etc/fail2ban/jail.local
echo "enabled  = true" >> /etc/fail2ban/jail.local
echo "port     = ftp" >> /etc/fail2ban/jail.local
echo "filter   = pureftpd" >> /etc/fail2ban/jail.local
echo "logpath  = /var/log/syslog" >> /etc/fail2ban/jail.local
echo "maxretry = 3" >> /etc/fail2ban/jail.local

echo "[Definition]" > /etc/fail2ban/filter.d/pureftpd.conf
echo "failregex = .*pure-ftpd: \(.*@<HOST>\) \[WARNING\] Authentication failed for user.*" >> /etc/fail2ban/filter.d/pureftpd.conf
echo "ignoreregex =" >> /etc/fail2ban/filter.d/pureftpd.conf

service fail2ban restart
11,安装ispconfig:(必须)
wget http://www.ispconfig.org/downloads/ISPConfig-3-stable.tar.gz
tar xfz ISPConfig-3-stable.tar.gz
cd ispconfig3_install/install/
php -q install.php
按照下面步骤:
--------------------------------------------------------------------------------
 _____ ___________   _____              __ _         ____
|_   _/  ___| ___ \ /  __ \            / _(_)       /__  \
  | | \ `--.| |_/ / | /  \/ ___  _ __ | |_ _  __ _    _/ /
  | |  `--. \  __/  | |    / _ \| '_ \|  _| |/ _` |  |_ |
 _| |_/\__/ / |     | \__/\ (_) | | | | | | | (_| | ___\ \
 \___/\____/\_|      \____/\___/|_| |_|_| |_|\__, | \____/
                                              __/ |
                                             |___/
--------------------------------------------------------------------------------


>> Initial configuration

Operating System: Debian 8.0 (Jessie) or compatible

    Following will be a few questions for primary configuration so be careful.
    Default values are in [brackets] and can be accepted with <ENTER>.
    Tap in "quit" (without the quotes) to stop the installer.


Select language (en,de) [en]:

Installation mode (standard,expert) [standard]:

Full qualified hostname (FQDN) of the server, eg server1.domain.tld  [hosting.tingtao.org]: 一般用默认,如果跟你设置的主机名不同,则在这里输入

MySQL server hostname [localhost]:

MySQL server port [3306]:

MySQL root username [root]:

MySQL root password []: mysql的root密码

MySQL database to create [dbispconfig]:

MySQL charset [utf8]:

[INFO] service Postgrey not detected
[INFO] service Postfix not detected
[ERROR] Postfix not installed - skipping Mail
[INFO] service Jailkit not detected
Configuring Pureftpd
[INFO] service BIND not detected
[INFO] service MyDNS not detected
Configuring nginx
[INFO] service OpenVZ not detected
Configuring Ubuntu Firewall
[INFO] service Metronome XMPP Server not detected
Configuring Fail2ban
Configuring Apps vhost
Installing ISPConfig
ISPConfig Port [8080]: web面板的端口

Admin password [bd7c9550]: web管理员密码

Re-enter admin password []: web管理员密码

Do you want a secure (SSL) connection to the ISPConfig web interface (y,n) [y]:


中间的证书信息自己决定吧,我是全部回车的


Configuring DBServer
Installing ISPConfig crontab
Installing ISPConfig crontab
no crontab for root
Detect IP addresses
Restarting services ...
Installation completed.
在整个安装过程中,一些需要注意的坑:
1,ispconfig的端口不能选80,否则会(较大概率)莫名其妙连不上。
2,mysql的root账号问题。在mysql配置里面不能添加 [skip-name-resolve] 这个设置,否则连不上;或者添加此项的话,需要单独为root@127.0.0.1添加授权,因为此项会导致mysql将root@localhost视为root@127.0.0.1,在mysql看来,这两者是两个账号。
3,ispconfig的证书是必选项,否则连不上,很奇怪的坑。
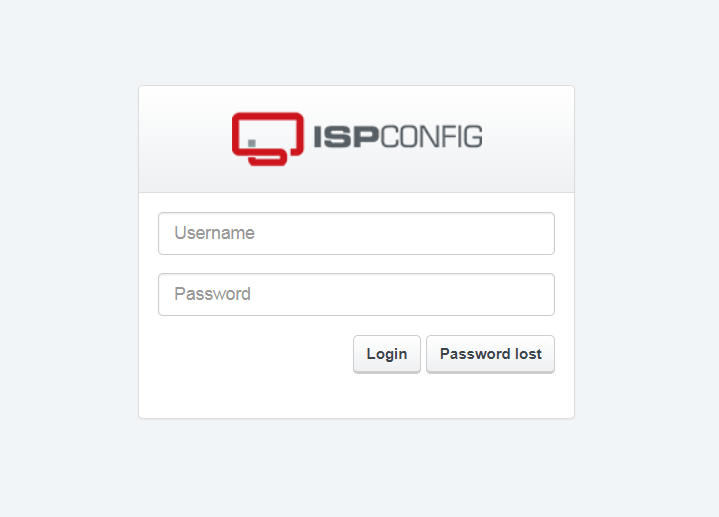
完成以后,就可以用浏览器打开 https://hosting.tingtao.org:8080 来使用管理了,因为证书是自己建的,所以会有https的安全警告,忽略即可。
登录用户名 admin
密码就是刚才填的。
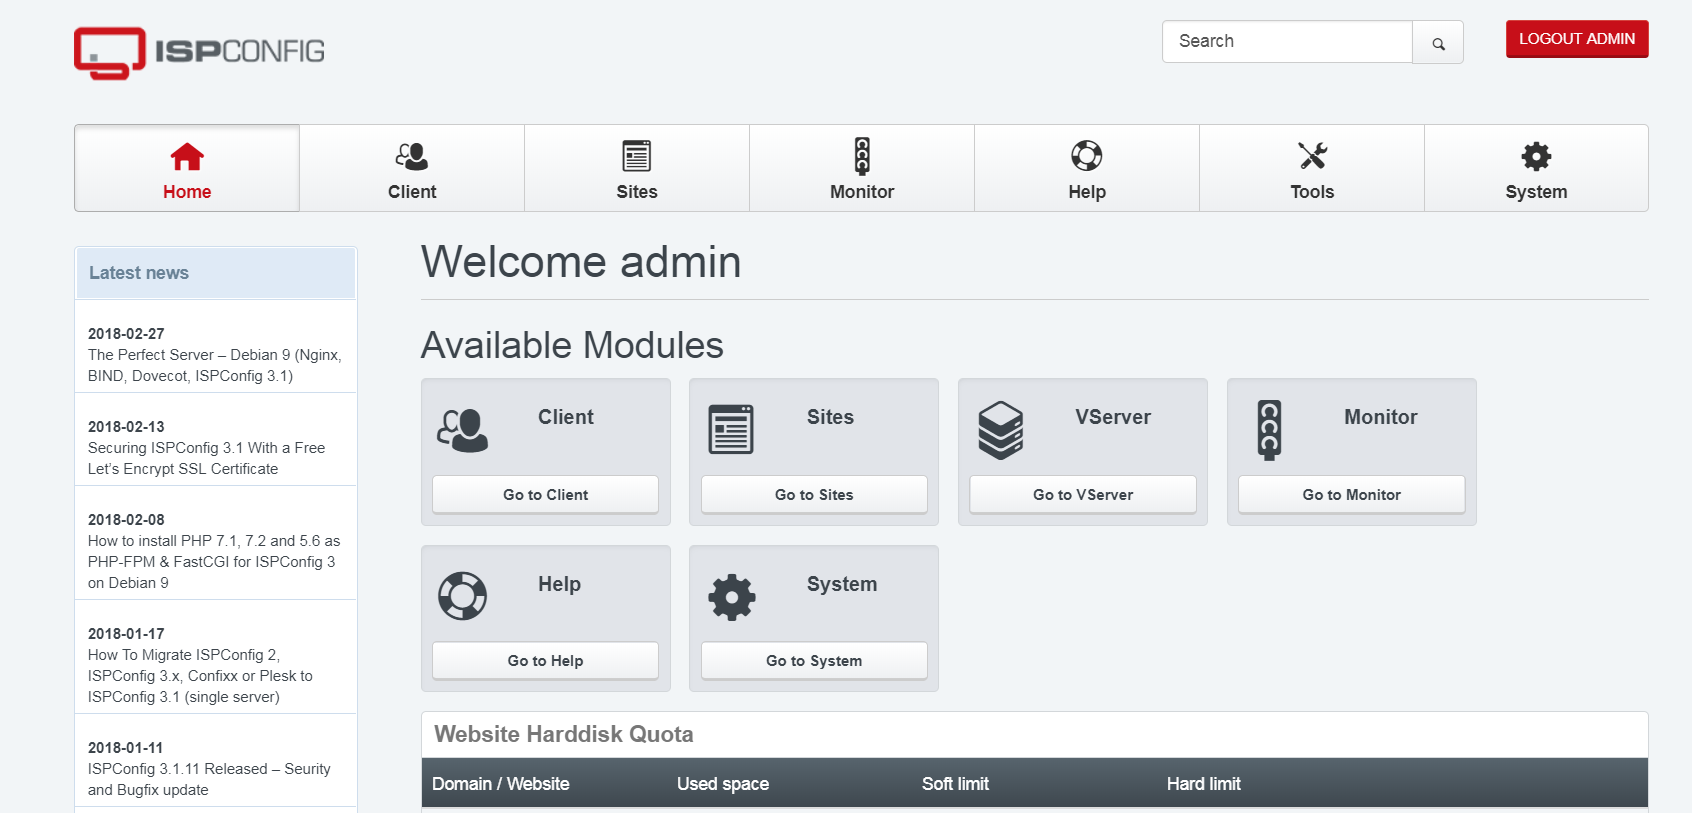
关于语言问题,这个系统有大多数语言,唯独没有中文。而网上能找到的那个语言文件也不能用,导入以后会使客户的操作无法执行,这也算是个坑吧。
不过大多数常用的东西应该都能看懂了。
后续可能需要做的一些设置:
php的配置文件为/etc/php5/fpm/php.ini ,默认并没有做安全方面的防范,可以参考我之前的文章设置一下。
后面会再写一篇怎么用这个面板的文章,尤其是安全方面。