本文所列内容在Linode和Vultr的VPS上面均测试通过。
本文将介绍如何将Debian 7(Wheezy)配置作为Samba服务器,可以匿名或者登录使用,文件和打印服务这些都是可以匿名使用或者让一部分用户登录使用,提供Linux/Unix服务器与Windows客户端直接的互操作性。
1,初步说明及客户端(Windows)配置
服务器使用server1.example.com主机名和IP 192.168.0.100
Windows客户端必须允许在同一个工作组内,用下面命令可以看到您所登录的工作组:
net config workstation
大部分时候,当你未做特别设置的话,工作组名是“WORKGROUP”
由于服务器所使用的主机名是示例域名,所以你需要编辑hosts文件,使计算机可以解析服务器主机名,命令:
notepad C:\Windows\System32\drivers\etc\hosts
添加下面一行:
192.168.0.100 server1.example.com debian
2,匿名samba共享
在服务器端执行命令:
apt-get install samba samba-common libcups2
将会安装samba版本3.6.6,然后我们要编辑配置文件/etc/samba/smb.cnf,备份是个好习惯,先备份为/etc/samba/smb.cnf.old,命令:
mv /etc/samba/smb.conf /etc/samba/smb.conf.bak
nano /etc/samba/smb.cnf
内容如下:
[global]
workgroup = WORKGROUP
server string = Samba Server %v
netbios name = debian
security = user
map to guest = bad user
dns proxy = no
#============================ Share Definitions ==============================
[Anonymous]
path = /samba/anonymous
browsable =yes
writable = yes
guest ok = yes
read only = no
继续输入命令:
mkdir -p /samba/anonymous
service samba restart
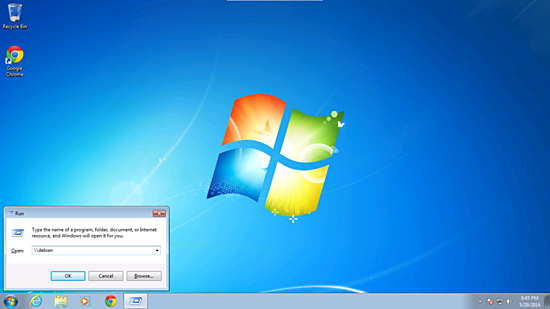
现在你可以在Windows客户端访问debian共享的内容了,试一下,开始--运行--“\\debian”:
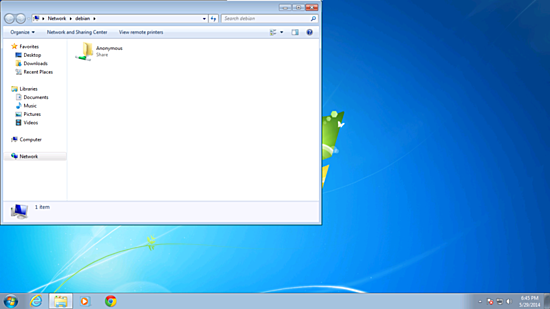

但是你会发现什么事情都干不了,因为权限被阻止了。
在服务器上检查一下共享文件夹的权限:
ls -l /samba/
total 4
drwxr-xr-x 2 root root 4096 May 27 18:17 anonymous
给匿名用户授权:
root@server1:~# cd /samba
root@server1:/samba# chmod -R 0755 anonymous/
root@server1:# chown -R nobody:nogroup anonymous/
root@server1:/samba# ls -l
total 4
drwx-xr-x 2 nobody nogroup root 4096 May 27 18:17 anonymous
root@server1:/samba#
然后匿名用户就可以浏览并且读写共享的目录了:

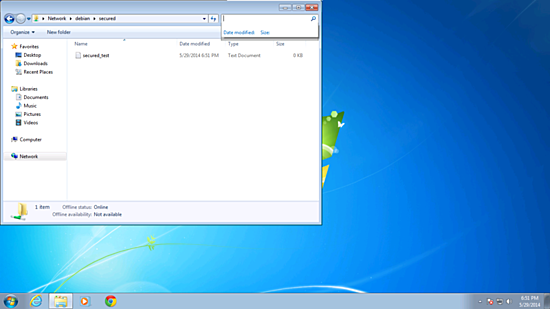
用Windows客户机在共享目录建立的文件,在服务器上一样可见:
root@server1:/samba# ls -l anonymous/
total 0
-rwxr--r-- 1 nobody nogroup 0 May 29 18:47 anonymous_test.txt
root@server1:/samba#
3,安全的Samba服务器
如果只是匿名使用的话,那么下面的可以忽略了,如果需要进一步安全,以及每个用户进行权限控制的话,那么继续往下看。
下面将建立一个组smbgrp和用户srijan进行授权:
groupadd smbgrp
useradd srijan -G smbgrp
smbpasswd -a srijan
New SMB password:
Retype new SMB password:
Added user srijan.
root@server1:/samba#
然后建立一个目录/samba,并给这个用户进行授权:
mkdir -p /samba/secured
cd /samba
chmod -R 0770 secured/
然后来编辑配置文件:
nano /etc/samba/smb.conf
加入如下内容:
[secured]
path = /samba/secured
valid users = @smbgrp
 guest ok = no
 writable = yes
 browsable = yes
进一步交叉检查的设置如下:
root@server1:~# testparm
Load smb config files from /etc/samba/smb.conf
rlimit_max: increasing rlimit_max (1024) to minimum Windows limit (16384)
Processing section "[Anonymous]"
Processing section "[secured]"
Loaded services file OK.
Server role: ROLE_STANDALONE
Press enter to see a dump of your service definitions
现在呢,你打开共享,就会看到新目录了,但是会要求授权:
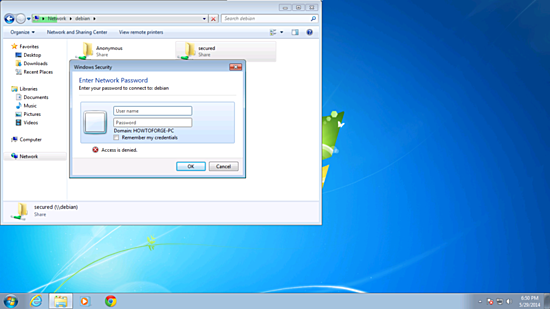

然后,你会发现权限仍然有问题:

最后一步,在服务器上面授权一下就好了:
命令:
cd /samba
chown -R srijan:smbgrp secured/
这样就可以了: